Oracle Enterprise Manager Cloud Control 12c Release 1 is the next release in the Enterprise Manager Product line. This document will detail the installation steps on Oracle Enterprise Linux 5.5 with an Oracle 11gR2 repository database.
The following are the requirements for the repository database
SGA_TARGET – 2GB or 2 * PGA_AGGREGATE_TARGET
PGA_AGREGATE_TARGET- 1GB
PROCESSES- 300 or greater
SESSION_CACHED_CURSORS-300
SHARED_POOL_SIZE=600MB or 1/3 SGA_TARGET
JOB_QUEUE_PROCESS- 20
MEMORY_TARGET- not set
Disable stats gathering job on the repository database
Redo logs should be 300MB or greater.
If Database Control was configured for the repository database it will need to be removed before the database can be used as repository. See the post:Removing Database Control (dbconsole) from a database. Note: If the repository database was created with Database Creation Assistant (DBCA) and you opted to not have the database managed with Database Control, you will still need to follow the steps in the linked post to completely remove all pieced of Database Control.
This install was done on the same machine as the repository database so all of the required OS packages and kernel parameters were already in place. If you are installing a separate server see Chapter 3 Meeting Package, Kernel Parameter, and Library Requirements.
The software can be downloaded from OTN on the Oracle Enterprise Manager Downloads page. Once you have downloaded the files and extracted them execute the runInstaller to start the installation.
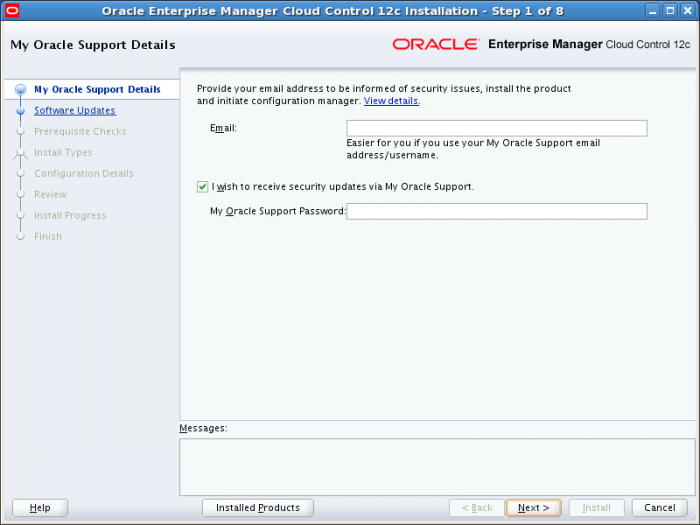
The first dialog allows you to configure automatic notifications of security updates. If you do not want to receive notifications of security updates uncheck the check box and click the Next button. A warning dialog will appear next in which you will need to acknowledge your request to remain uninformed.
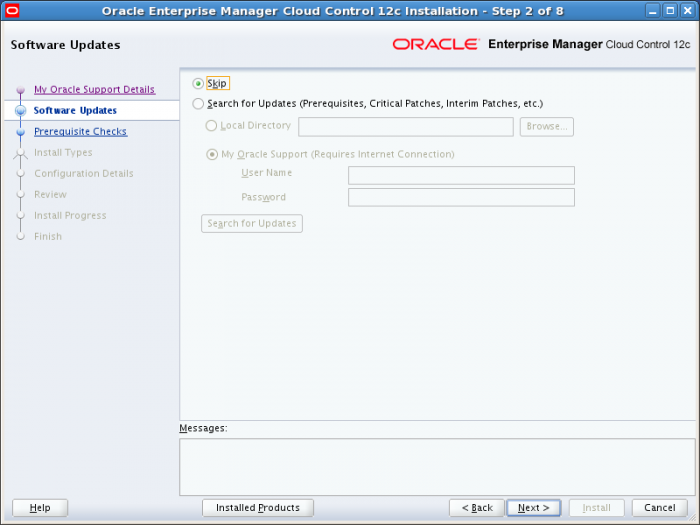
If you have an Oracle Support account you search for updates from My Oracle Support. Alternatively you can download the patches and place them in directory for the installer to read. In this document we skip patching at install time.
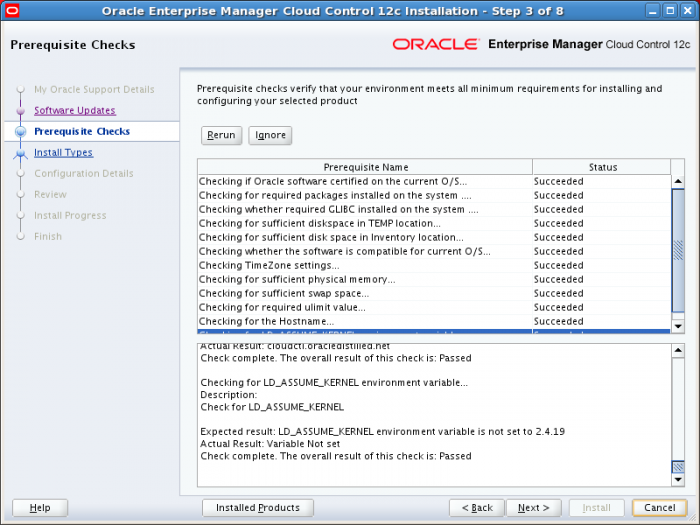
In this install the Prerequisite Checks for the packages and kernel parameters were taken care of by the database install. If any of the checks you have the ability to resolve the problem and rerun the checks or ignore the checks at your own peril.
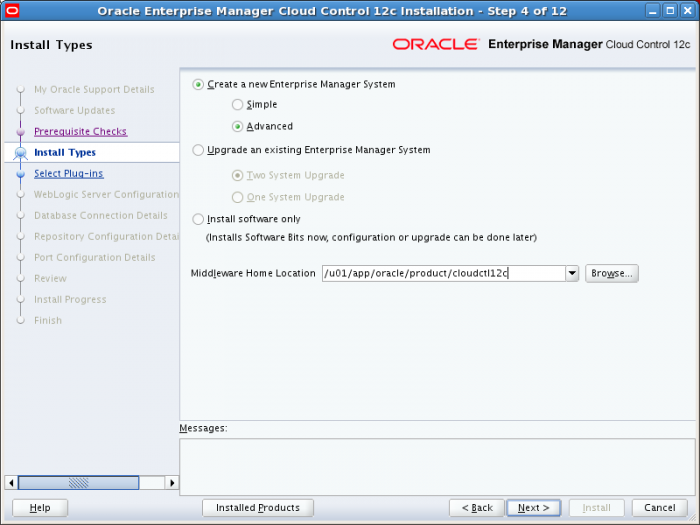
On the Install Types dialog you have the options creating a new Enterprise Manager System, Upgrade and existing Enterprise Manager install or installing just the software. This document will detail the steps in an advanced install of a new Enterprise Manager system. A Middleware home location will need to be provided. We noticed problems in the installation if the directory used to house the software install was named middleware. After providing your Middleware Home Location click the Next button to continue.
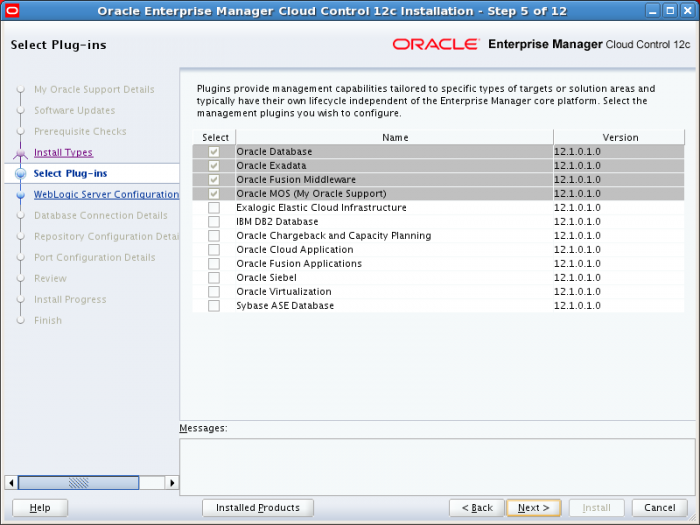
The Select Plug-ins dialog allows you to customize which plug ins to install. The one highlighted in grey are installed by default. The Oracle Fusion Middleware plug is selected by default, which has a dependency on the Exalogic Elastic Cloud Infrastructure which is not selected.
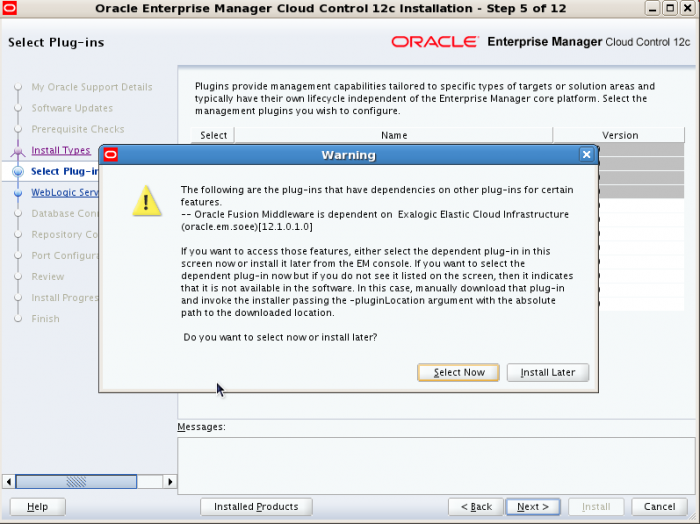
If you click the next button to continue with the default selected items you will get a warning dialog similar to the one above. Clicking the Select Now button will close the the warning dialog and you can select Exalogic Elastic Cloud Infrastructure. Once you either select the Exalogic Cloud Infrastructure plug in or deselect the Fusion Middleware plug in, click the Next button to continue.
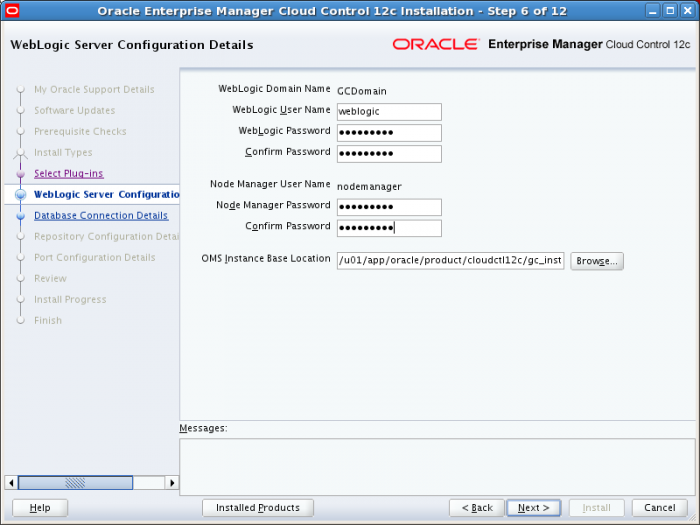
The installation process will configure the Weblogic domain GCDomain, all we need to provide is the password for the weblogic and node manager users. The OMS instance base location defaults to the Middleware home location provided earlier. Click the next button to continue.
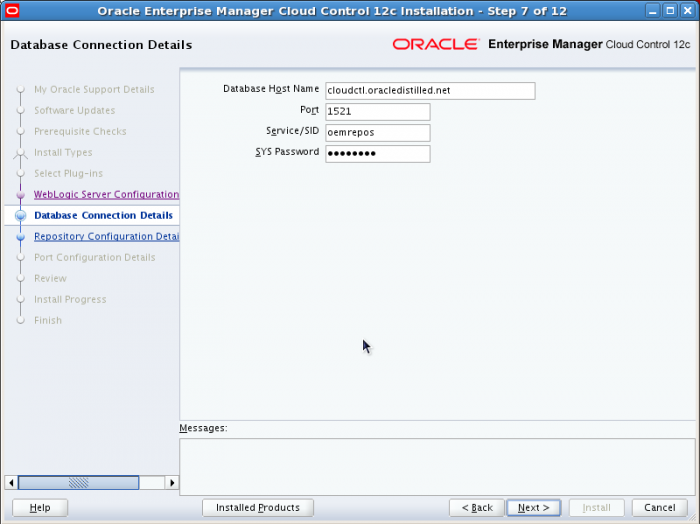
On the Database Connection Details Dialog provide the database host name, listener port, database SID and SYS password. Click the next button to continue.
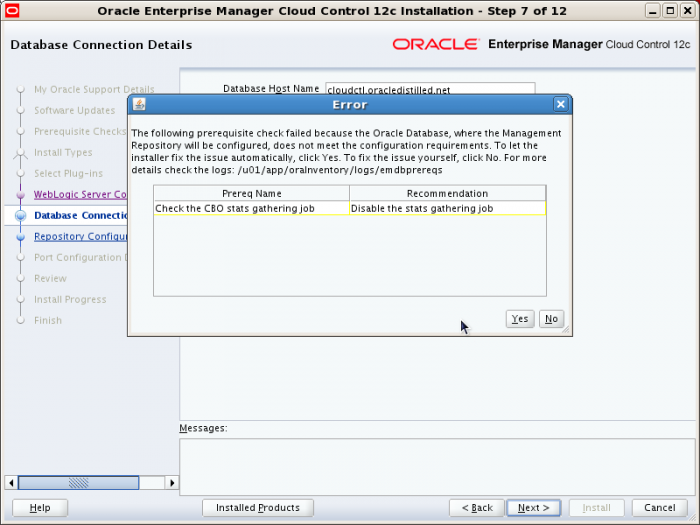
If you created your repository database with DBCA and unselected the enable maintenance jobs the stats collection job will still be enabled. The installer can handle the disabling of status job. If you get this message click the Yes button to allow the installer to disable the stats job.
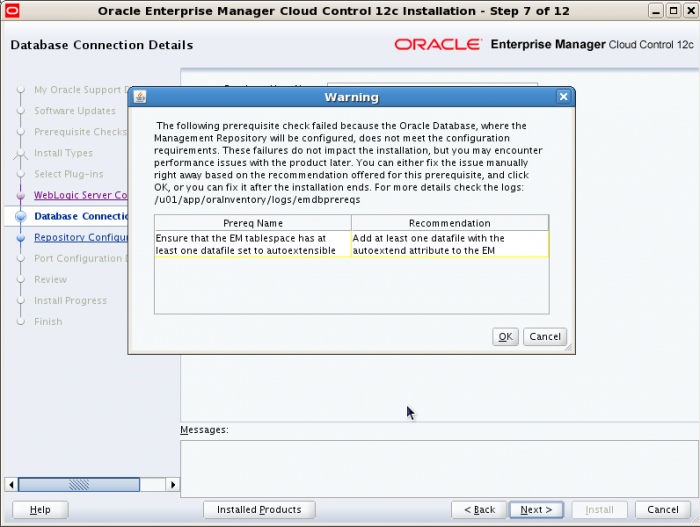
This database prerequisite check will provide another warning, this time stating that the Enterprise Manager tablespace must have at least one datafile set to autoextend. Since a tablespace has not been selected to be used for Enterprise Manager the timing of this warning is a little odd. Click the OK button to continue.
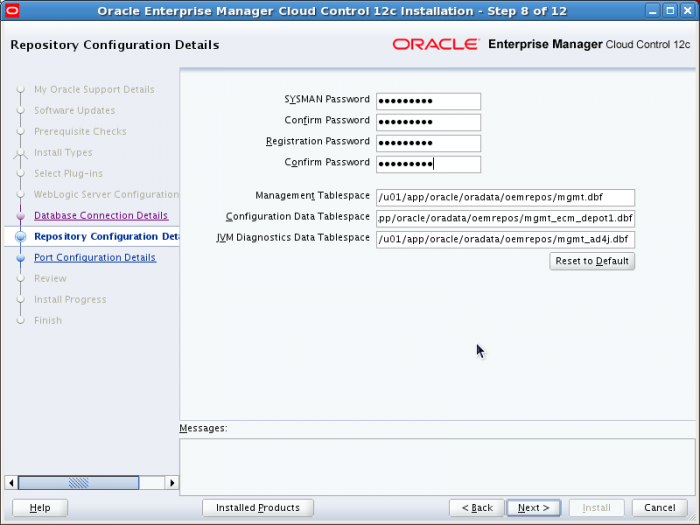
On the Repository Configuration Details dialog you will provide the password for the SYSMAN and the Agent registration password. Tablespaces and datafiles are created on this dialog for the Management, Configuration and JVM Diagnostics. Click the Next button to continue.
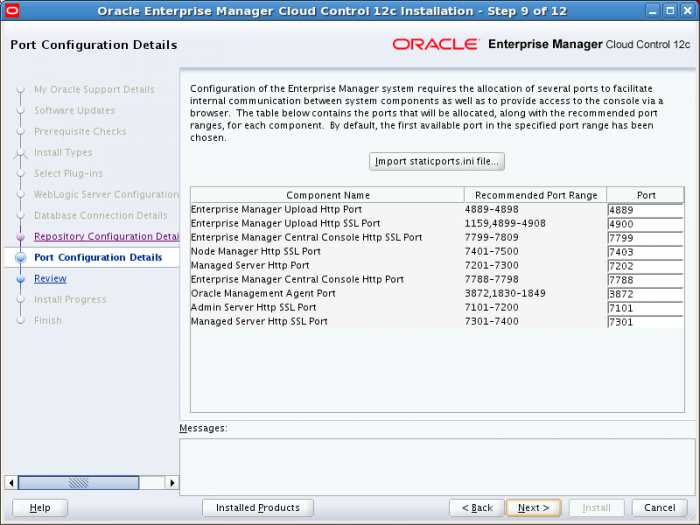
The Port Configuration Details dialog details all of the ports needed by Enterprise Manager along with recommend port ranges. After making any required changes for your environment click the Next button to continue.
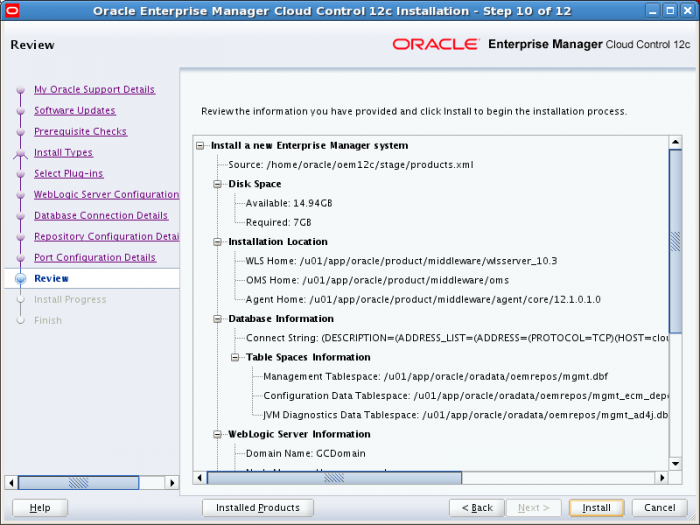
The Review dialog displays all of the information provided for the Enterprise Manager installation. If everything is OK, click the Install button to start the installation. If you need to make any changes click the Back button.
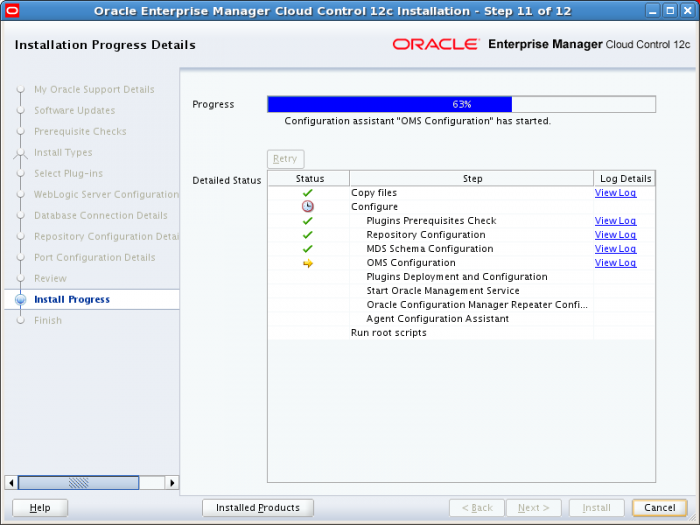
The Installation Progress Details dialog provides a current status of the installation process. Each step in the installation process has View Logs link that will display the log of the the currently executing steps or step completed earlier.
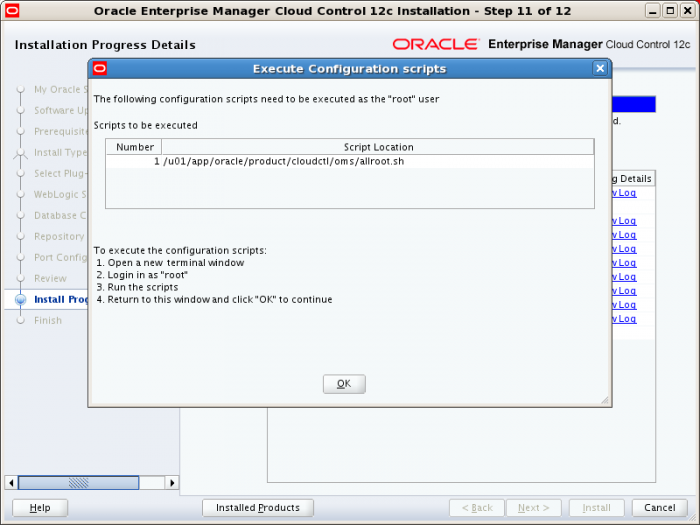
One the installation successfully completes a dialog will appear requesting the execution of the root scripts. Follow the directions on the dialog and click the OK button once the script completes. Below is the output of the roots script for this installation. Note if the repository database is on the same host as the Cloud CTL install you will see notices that certain files exist. In this example we choose to not overwrite the existing file.
[oracle@cloudctl ~]$ su -
Password:
[root@cloudctl ~]# /u01/app/oracle/product/cloudctl/oms/allroot.sh

Starting to execute allroot.sh .........

Starting to execute /u01/app/oracle/product/cloudctl/oms/root.sh ......
Running Oracle 11g root.sh script...

The following environment variables are set as:
    ORACLE_OWNER= oracle
    ORACLE_HOME=  /u01/app/oracle/product/cloudctl/oms

Enter the full pathname of the local bin directory: [/usr/local/bin]:
The file "dbhome" already exists in /usr/local/bin.  Overwrite it? (y/n)
[n]: n
The file "oraenv" already exists in /usr/local/bin.  Overwrite it? (y/n)
[n]: n
The file "coraenv" already exists in /usr/local/bin.  Overwrite it? (y/n)
[n]: n

Entries will be added to the /etc/oratab file as needed by
Database Configuration Assistant when a database is created
Finished running generic part of root.sh script.
Now product-specific root actions will be performed.
/etc exist

Creating /etc/oragchomelist file...
/u01/app/oracle/product/cloudctl/oms
Finished execution of  /u01/app/oracle/product/cloudctl/oms/root.sh ......


Starting to execute /u01/app/oracle/product/cloudctl/agent/core/12.1.0.1.0/root.sh ......
Finished product-specific root actions.
/etc exist
Finished execution of  /u01/app/oracle/product/cloudctl/agent/core/12.1.0.1.0/root.sh ......
[root@cloudctl ~]#
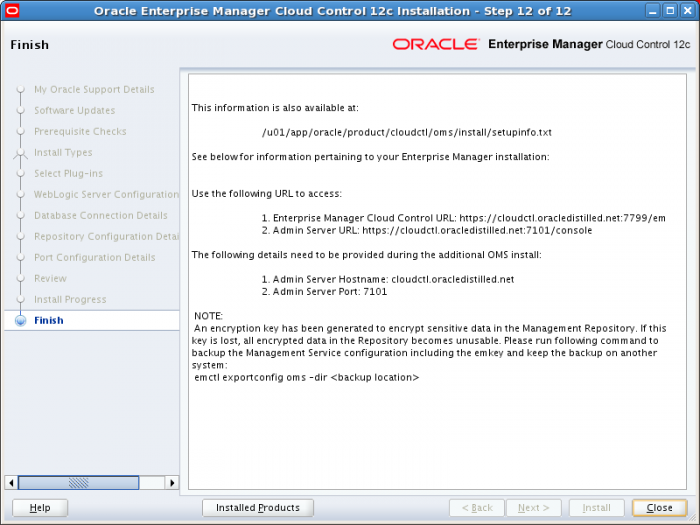
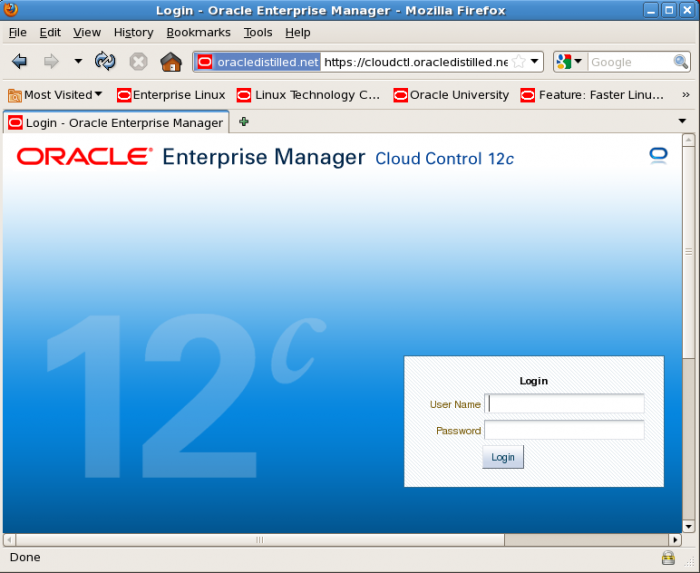
After the completion of the root script a summary dialog will appear that details the URLs for Enterprise Manager Cloud Control and Admin Server. You can now access Enterprise Manager Cloud Control from the URL provided.

Hey dude. I am trying to do DR and create a Snap Clone (rman). I have gotten to the point of trying to create my DR database on my remote server and it hits an error. When I try to get the grid control to create my standby database on the remote server I get this: Uncaught exception in command fileTransfer: unable to instantiate value javax.xml.bind.JAXBElement@219b2c98 for attribute actualException
Have you seen this or have any experience with it? I thought it was a port problem at first, but my network admin does not see any traffic coming over that port. It claimed to be trying to do http. IE port 80 I am assuming.
Thanks,
Robert
Yo Eric, I found that when I was trying to clone my database the path to my archive logs was incorrect. I fixed that error, but I received the error again. I am now investigating that my standby_archive_dest parameter is also incorrect(?). I am not sure what it should be, but I am looking into that now. I am also going to try and turn on debug mode to see if I can get more information on the error.
Thanks,
Robert