Oracle TimesTen In-Memory Database is a memory resident relational database management system that allows applications to access capture or modify information faster than traditional database products.
This document will detail the installation steps for Oracle TimesTen In-Memory Database Client on Windows systems.
Windows Requirements
If the install is on Vista, Windows 7 or Windows 2008 the install needs to be performed by either the local administrator or by a user who is a member of the Administrator group and uses “Run as administrator” to perform the setup.
Downloading and Installing TimesTen
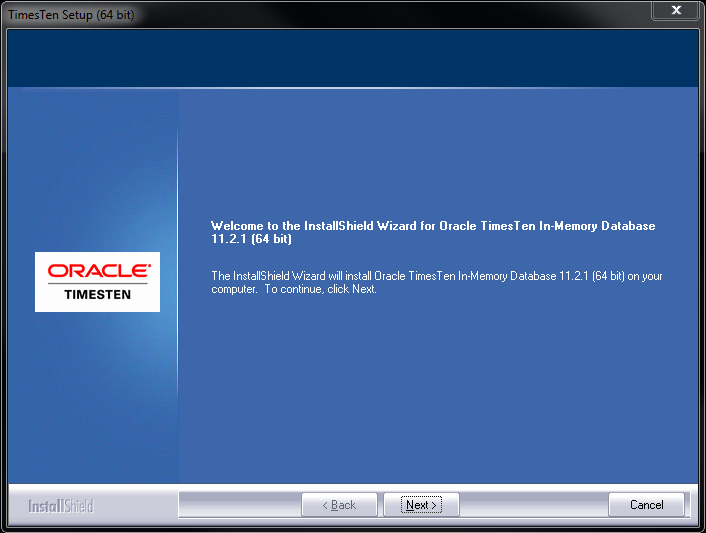
TimesTen can be downloaded from the Oracle Technology Network (OTN) in the TimesTen section of the Database Downloads.. The same package used to install the TimeTen Database Server is used to install the TimesTen client. Once you uncompress the file double click setup.exe to start the installation.
Click the Next button to continue.
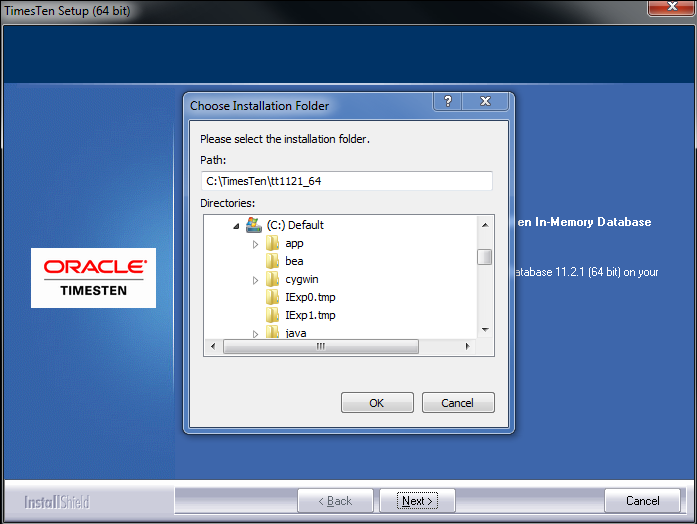
The default location is C:\TimesTen\tt1121_32. You can browse to another location if needed. Once you have provided the installation location click the OK button to continue.
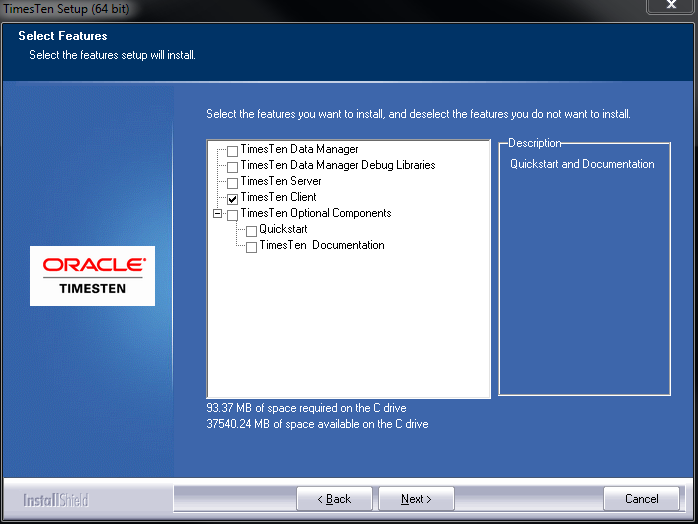
Uncheck the following items. TimesTen Server, TimesTen Data Manager, TimesTen Optional Components.
Click the Next button to continue.
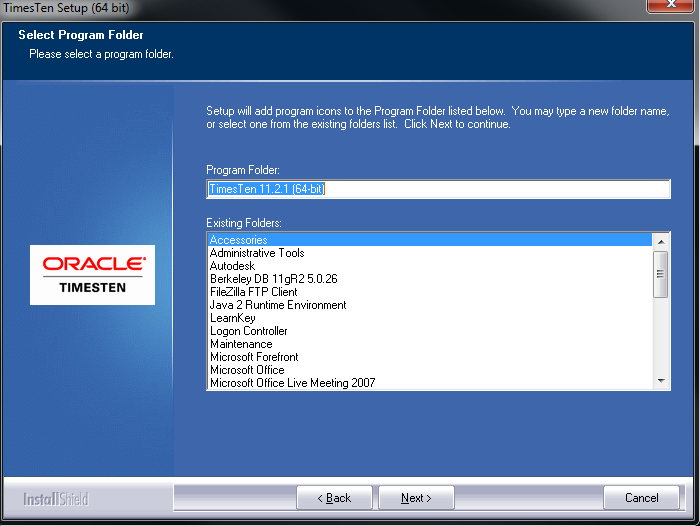
Select the location in which to create shortcuts for the TimesTen utilities. Click the Next button to continue.
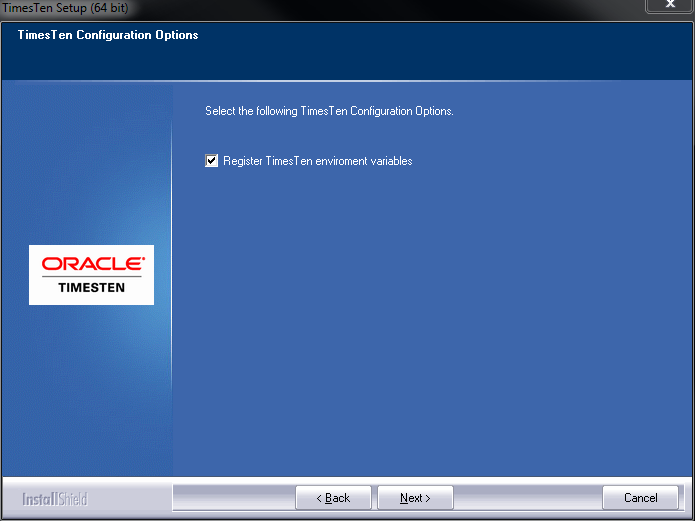
The following environment variables will be altered if you choose to allow the installer to modify the environment variables: CLASSPATH, LIB, INCLUDE and PATH. NOTE: TimesTen does include the Oracle Instant Client and allowing the installer to modify the PATH environment variable can be a source of problems if you have the either Oracle Database or Oracle Client software installed as the instant client for TimesTen will be first in the PATH.
Click the Next button to continue.
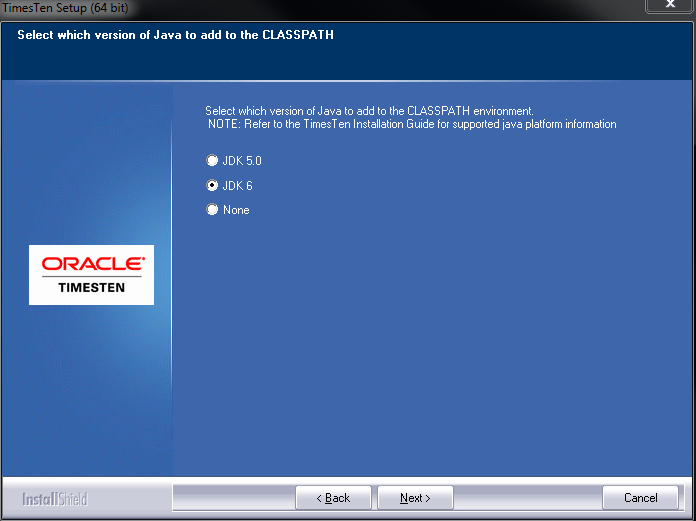
Oracle TimesTen 11g includes JDBC drivers for JDK 5 and 6. You have the option to add one of the versions to the CLASSPATH environment variable.
Click the Next button to continue.
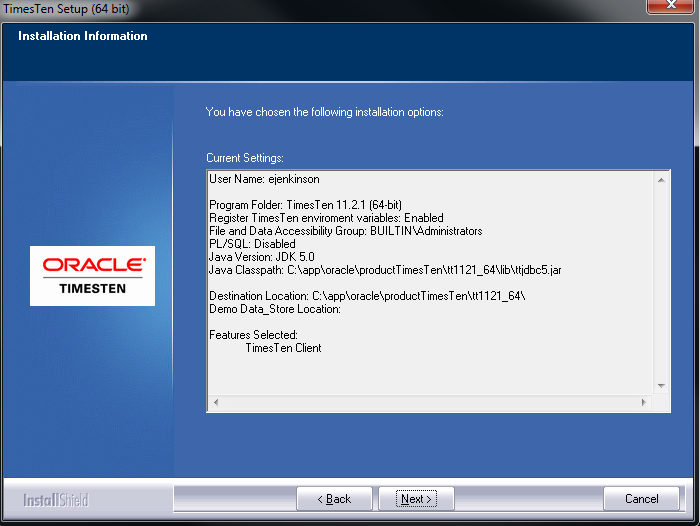
You can review the installation options prior to installing TimesTen. If you find that you need to make changes click the Back button to go back the configuration page in which you need to change. Click the Next button to continue.
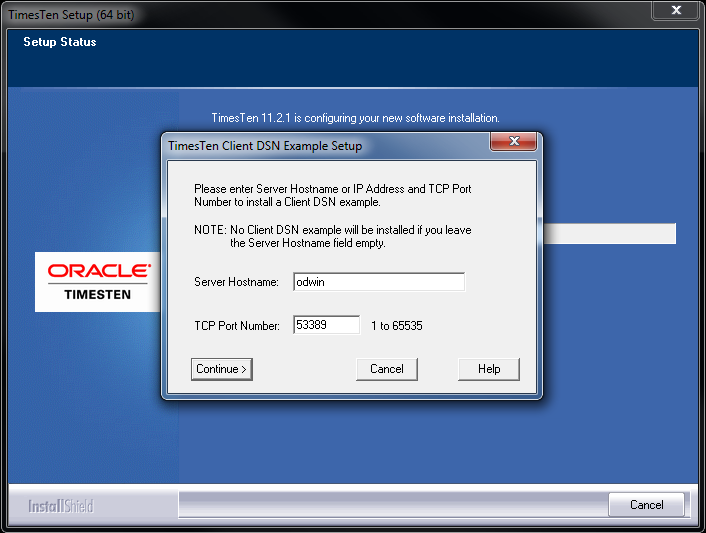
During the installation process you will be prompted to provide an IP address or Server Host name for machine that hosts Oracle TimesTen Databases. You can leave the Server Hostname field empty to skip creation of the client DSN at this time. If you do leave the field blank you can create the client DSN after the install in the ODBC Manager.
Click the Continue button to continue.
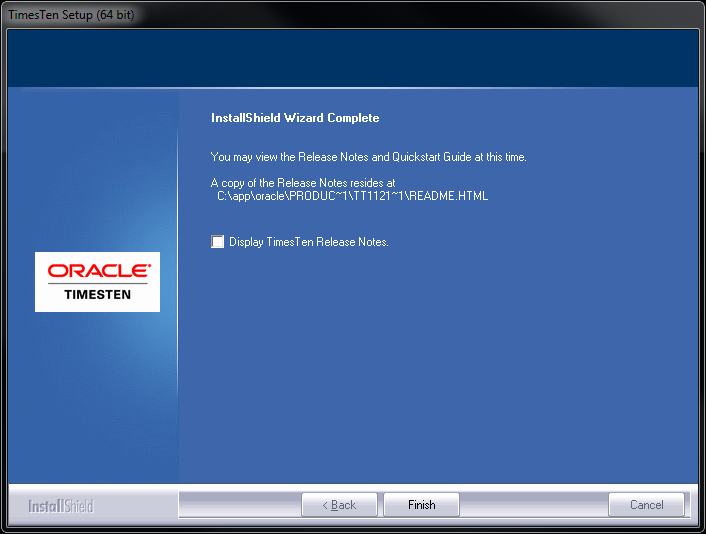
Click the Finish button to complete the installation and exit the installer.
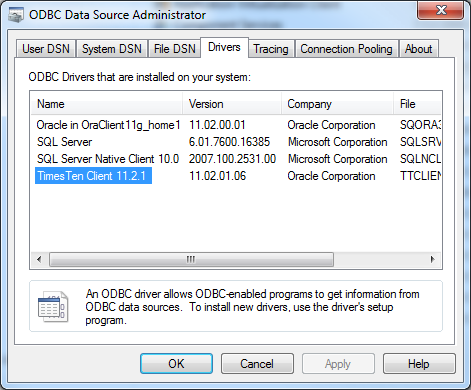
In the ODBC Data Source Administrator you should see the TimesTen Client 11.2.1 driver.

awesome